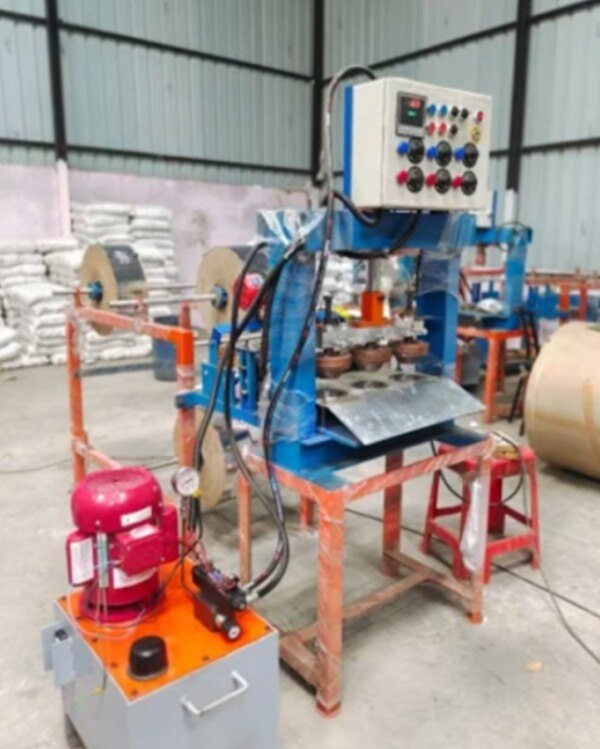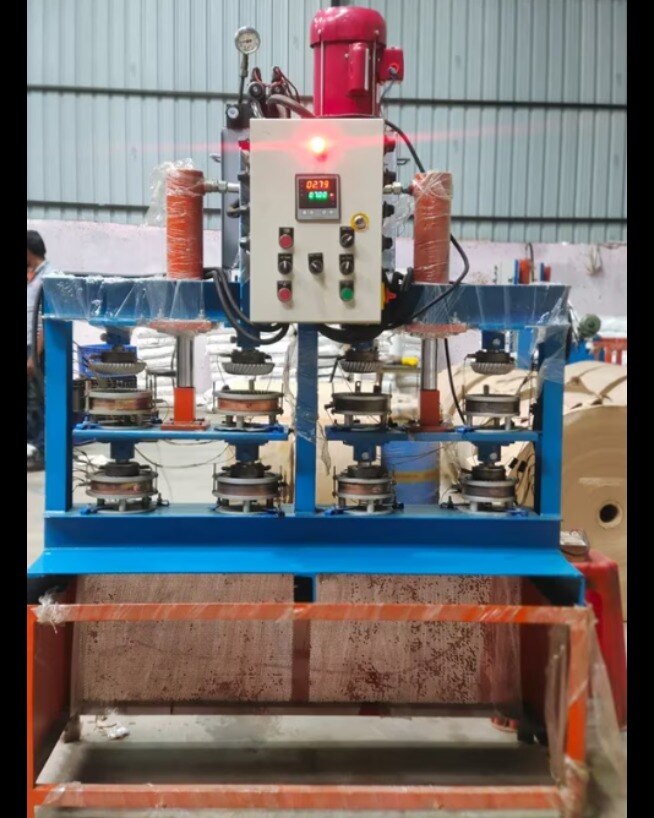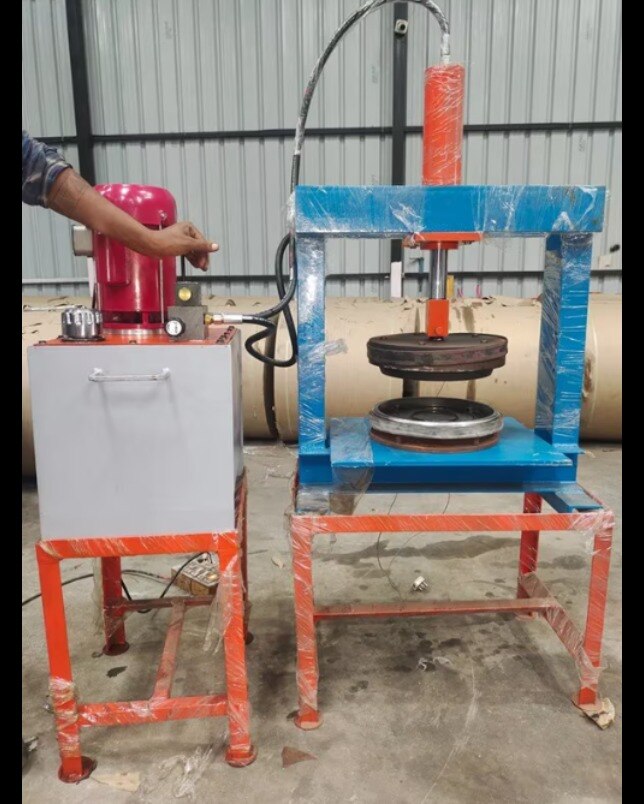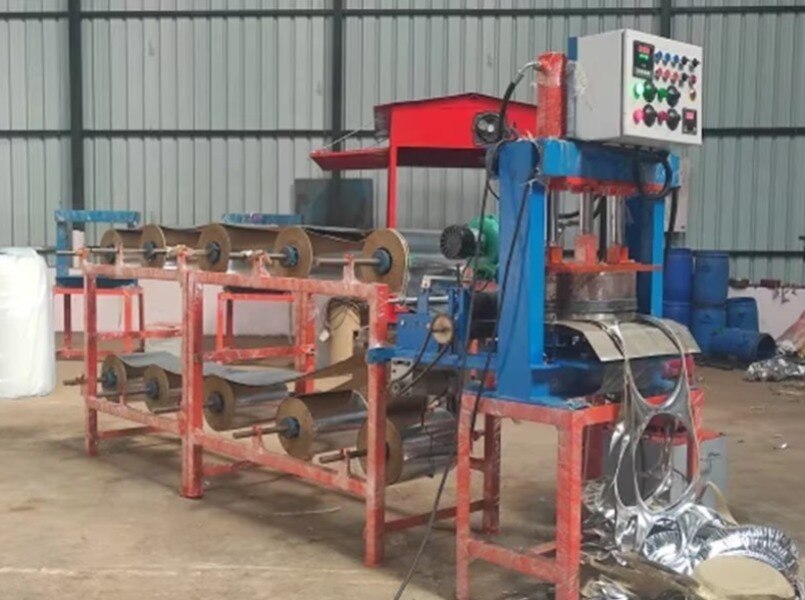
A dona can look acceptable while its diameter, wall depth, rim strength or leak resistance changes from one cycle to the next. You will be able to connect each quality result to a machine setting, material variable or inspection check, then build a repeatable process that catches drift before it becomes a shipment problem.
Key takeaways
- Centre every blank before forming to prevent uneven rims and excess folds.
- Approve the first piece after checking shape, rim, folds and dimensions.
- Record interval checks to detect drift before inconsistent donas reach dispatch.
- Control die wear, paper condition and manual handling before increasing machine speed.
Which machine functions control dona-to-dona consistency?
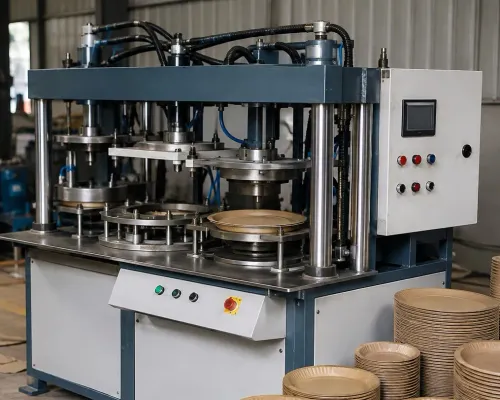
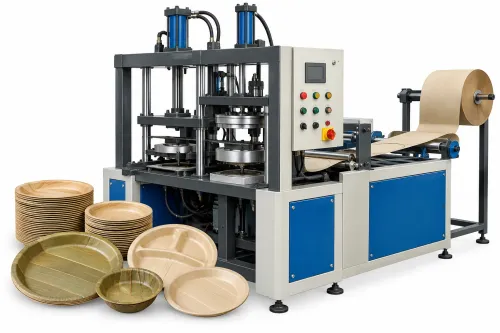
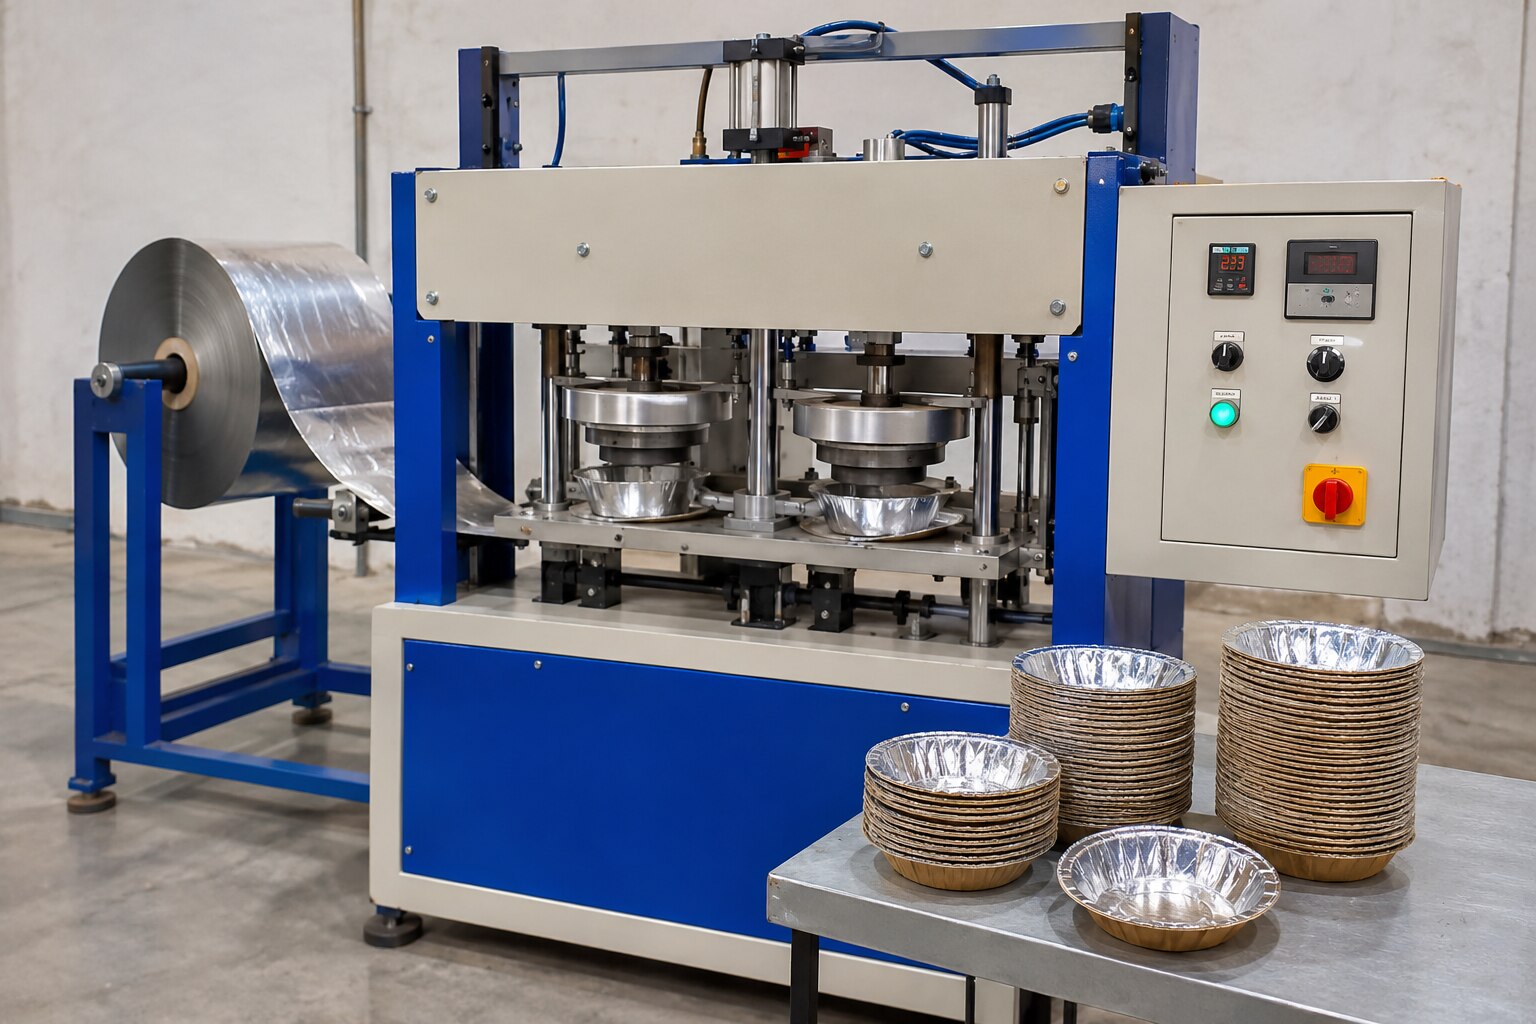
Consistency starts with delivering the same blank to the same forming centre every cycle. Automatic paper feeding reduces variation in feed rate, while controlled blank positioning prevents a thin rim on one side or excess folds from an oversized or off-centre blank.
| Function | How it controls consistency | Failure when uncontrolled |
|---|---|---|
| Automatic paper feeding | Presents one blank per cycle at a repeatable rate | Double feeds, gaps or irregular output |
| Blank positioning | Centres the blank beneath the die | Uneven rim, asymmetrical bowl or incomplete forming |
| Die alignment | Keeps punch and die concentric | Non-uniform depth, sidewall thickness and wrinkles |
| Hydraulic or pneumatic pressure | Applies repeatable forming force | Weak definition, cracks or excessive material compression |
| Heating and forming dwell | Softens the coating and holds the shape long enough | Springback, sticking or poorly defined rims |
| Automatic ejection | Removes each dona without crushing or dragging it | Deformed edges, scratches or sticking |
Store temperature, pressure, dwell and cycle-time settings in the machine recipe, then revalidate them after changing paper lot, blank size or die set. Raising speed shortens heating and forming time, so incomplete forming can appear even when pressure remains unchanged.
Clean die surfaces, remove paper deposits, check heaters and thermocouples, lubricate specified points, and replace worn punches or guides. These actions prevent gradual changes in rim shape and ejection force. Inspect diameter, depth, rim symmetry, flat base and lamination condition; weight catches material changes, but it cannot prove leak-tightness or resistance to collapsing.
How should you set up the die, paper and first-piece approval?
Before production, verify the die, paper, machine settings and first-piece sample against an approved specification; a stored recipe cannot correct a mismatched blank or worn tool.
1. Complete the forming die installation. Clean cavity and punch surfaces, check the cavity profile, rim radius, punch-to-die clearance and blank-centering guides, then tighten the die evenly. Confirm that the die produces the specified diameter, depth, wall angle, rim width and flat base.
2. Release the paper lot only after checking paper GSM and caliper against the purchasing specification. Record moisture content, sheet dimensions, coating and lamination type, surface condition, and moisture control and grain direction. Load the sheets in the marked orientation; incorrect grain direction can cause wrinkles, cracking or an uneven rim.
3. Enter the approved recipe for temperature, pressure, dwell and cycle timing, then confirm heater connections, thermocouples, lubrication points and ejection alignment. Remove paper or coating deposits before startup, because buildup changes forming pressure and causes sticking.
For coated stock, obtain the supplier’s food-contact and processing limits; coating and lamination that resist leakage can still crack or delaminate during forming.
4. Run the first cycle at setup speed and inspect the formed dona immediately. Measure diameter, depth, rim width and bottom flatness, and check symmetry, wrinkles, cracks, sticking, leaks and delamination.
Approve production only when the sample matches the signed reference and remains intact during a collapse-resistance check; otherwise adjust one parameter at a time and repeat approval.
What quality checks prove that every production interval remains consistent?
Use a documented interval sample to prove consistency: measure dimensions, weigh pieces, inspect defects and test performance against limits approved during first-piece validation. Do not accept a batch because it looks uniform; a thin wall or pinhole can pass visual inspection and fail with hot, oily or aqueous food.
| Attribute | Sample and method | Acceptance limit |
|---|---|---|
| Dona diameter and depth | Measure several donas from each production interval with a vernier caliper and depth gauge | Every reading remains within the approved drawing tolerance |
| Rim height and symmetry | Measure rim height at four points and compare opposite sides | Height stays within tolerance; opposite points show no unacceptable difference |
| Weight checks | Weigh the interval sample on a calibrated scale | Each piece falls within the approved weight range |
| Visual condition | Inspect rims, walls and bases for wrinkles, cracks, delamination, die marks and an uneven base | Zero critical defects; define a maximum minor-defect count before production |
| Leakage testing | Fill samples with water, oil and hot food at the declared temperature and contact time | No seepage, softening or collapse during the specified test |
Take samples by cavity and interval, not only at shift start. Record readings in sequence: a steady drift points to die wear or heater change, while one sudden failure suggests blank displacement or a feeder fault. Use ISO 2859-1 for attribute-sampling structure, but set the actual dimensional and leakage limits from the approved product specification.
How do you diagnose defects and control the manual work around automation?
Start with the defect pattern, not the machine setting. A rim thin on one side points to an undersized or off-centre blank, feeder misalignment, die misalignment or uneven platen clearance; for uneven rim correction, centre the blank, check cavity-to-punch alignment and verify die parallelism before changing pressure.
- Incomplete forming or springback indicates excessive cycle speed, low die temperature, insufficient pressure or too little forming dwell. Reduce speed, verify tooling temperature at the die, then adjust pressure and dwell in small steps.
- Wrinkles and excessive folds result from an oversized blank, excessive moisture, poor grain direction or material buildup. Confirm blank diameter and paper-lot properties before altering the die.
- Cracked folds or wall cracks point to low moisture, excessive stretching, sharp tooling, excessive pressure or platen misalignment. Inspect the paper caliper, die edges and clearance; reject damaged tooling.
- Burn marks indicate an overheated zone, drifting thermocouple or prolonged contact. Compare the controller reading with the tooling temperature and repair the failed heating zone.
- Sticking usually comes from excessive heat, coating transfer, dirty tooling or inadequate ejection timing. Clean the die, correct the temperature and check ejector travel.
- An off-centre bowl usually follows poor blank placement, feeder play or uneven forming pressure. Check guides, sensors, fasteners and platen parallelism.
Keep manual work controlled: load only approved paper lots, use a fixed blank-loading guide, and prohibit hand repositioning during a running cycle. Quarantine output after any adjustment, record the defect and machine settings, and approve a new first piece before release. Inspecting appearance alone misses leaks and bowls that collapse when filled.
How do you choose a production setup that prioritises consistency over speed?
Choose the setup that proves stable dimensions over repeated intervals, not the one with the highest advertised strokes per minute. A fast cycle can reduce forming dwell time, causing incomplete shaping, springback, wrinkles or weak rim definition. Compare cycle speed versus dwell time at the actual paper, die temperature and pressure you will use.
| High output | Genuine quality control |
|---|---|
| Displays pieces per minute | Records diameter, depth, rim width and defect rate by interval |
| Raises speed without revalidation | Revalidates recipe parameters after changing paper, die or speed |
| Approves one first piece | Uses process measurements and an ISO 2859-1 sampling plan |
| Relies on controller temperature | Verifies temperature at the tooling and checks thermocouples |
Require a machine that stores pressure, temperature, dwell and timing recipes, supports stable blank positioning, and records faults by cavity or interval. Require tooling drawings and inspection data for cavity profile, rim radius, punch-to-die clearance and blank centring; a worn die can reproduce the wrong dona perfectly.
Include a preventive maintenance schedule covering die cleaning, heater connections, thermocouples, lubrication points and replacement limits for punches and guides.
Ask Shivansh Engineering for a trial using your paper lot and selected die, with measured first-piece samples and a documented changeover procedure. The supplier must state which acceptance limits you set yourself; ISO 2859-1 defines sampling structure, not whether your dona’s depth or rim is acceptable.
Related products
 | Paper Dona Making Machine Semi Automatic Dona Making Machine ₹220000 A Semi Automatic Dona Making Machine is a perfect choice for small and medium-scale manufacturers looking for a balance of affordability, efficiency,... View product → |
 | Paper Dona Making Machine Fully Automatic Dona Making Machine ₹120000 A Fully Automatic Dona Making Machine is the most advanced and efficient solution for large-scale production of high-quality paper donas (bowls). View product → |
Frequently asked questions
Which machine functions control dona-to-dona consistency?
Automatic paper feeding, accurate blank positioning and a stable forming centre control the repeatability of each dona. Die alignment, pressure and cycle timing also affect rim thickness, folds and overall shape.
How should you set up the die, paper and first-piece approval?
Clean and centre the die, load paper with consistent dimensions and confirm the blank reaches the forming centre. Approve the first piece by checking its shape, rim, folds and key dimensions before starting the production run.
What quality checks prove that every production interval remains consistent?
Inspect samples at defined production intervals and compare dimensions, rim shape, folds, surface condition and stacking form with the approved first piece. Record results so you can identify quality drift.
How do you diagnose defects and control manual work around automation?
Trace uneven rims, excess folds and misshapen donas to blank position, paper condition, die alignment, pressure or cycle timing. Standardise loading, inspection and stacking tasks so manual handling does not introduce new variation.
How do you choose a production setup that prioritises consistency over speed?
Choose stable feeding, repeatable die movement and accessible inspection points before selecting the highest cycle rate. Increase speed only after the setup holds dimensions and appearance across repeated production intervals.
Related product
 | Paper Dona Making Machine Paper Triple Die Dona Making Machine ₹325000 A Paper Dona Making Machine is an essential manufacturing solution for producing high-quality paper donas (bowls) used widely in food service,... View product → |