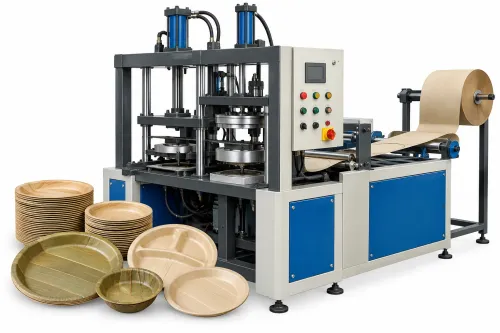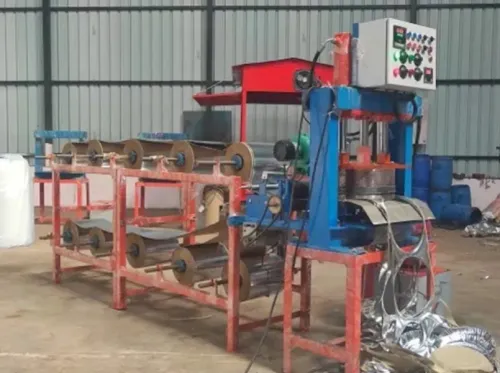
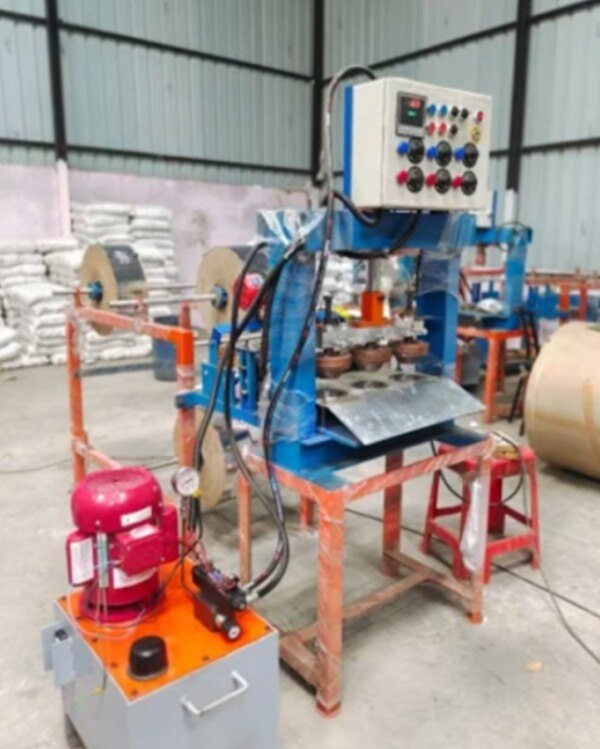
Paper donas fail for identifiable reasons: the blank may be damp, the die may be misaligned, pressure may be uneven, or a feeder may place paper off-centre. By the end, you will be able to trace finished defects to the material, tooling, settings or controls, then apply the right operator check instead of changing several adjustments at once.
Key takeaways
- Test caliper, stiffness and coating adhesion, not GSM alone.
- Match cracks, wrinkles and uneven depth to specific forming causes.
- Set all three dies for equal pressure before increasing machine speed.
- Approve a machine only after checking consistent saleable output.
Check the Paper Before Blaming the Machine
Paper GSM does not predict forming performance by itself. Two papers with the same basis weight can have different caliper, paper stiffness, elongation, porosity and coating adhesion, causing cracks, wrinkles or uneven bowl depth in the same die.
1. Check the delivery against the machine specification: paper GSM, caliper, moisture range, stiffness, blank diameter tolerance and grain direction. Reject blanks outside any stated limit; do not compensate with extra pressure.
2. Measure paper moisture from several bundles, not one sheet. Paper conditioned at 23 °C and 50% relative humidity, as specified in ISO 187, provides a consistent test basis. Reject paper that is brittle and too dry, or limp and damp enough to wrinkle.
3. Inspect blank diameter, roundness, edge quality and centering. Reject blanks with burrs, crushed edges, oval shapes or off-centre printing; these defects create uneven rims and local tearing before the die is adjusted.
4. Perform caliper and coating checks for dona paper blanks. Confirm uniform thickness and firmly bonded coating across the forming area. Reject blanks with bare patches, blisters, peeling, folds or coating transfer that could make the blank stick to the die.
Run a small trial with accepted blanks before loading the full batch. Record the lot number and retain a sample when the trial produces stable walls, rims and embossing.
Match Each Finished Defect to Its Likely Cause
A defect usually points to the forming conditions, not one adjustment alone. Check the blank, die alignment, pressure, dwell time and temperature together before changing settings.
- Incomplete pressing indicates insufficient forming pressure, short dwell time or a die that is not closing evenly. Check hydraulic pressure, parallelism and the pressure-hold setting; replace worn seals if pressure falls during the cycle.
- Uneven dona depth points to an off-centre blank, incorrect blank diameter or unequal die clearance. Centre the feeder, verify blank tolerance and align the die before increasing pressure.
- Torn or cracked paper points to low moisture, excessive pressure, a sharp die edge or unsuitable caliper. Condition paper near 23 °C and 50% relative humidity, then inspect the edge and reduce pressure only after alignment is correct.
- Wrinkled rims point to excess moisture, a miscentred blank or incorrect clearance. Stabilise paper conditioning, correct feeder guides and check the rim-forming surface for wear.
- Weak embossing means insufficient pressure or dwell, worn embossing detail or poor die contact. Clean the pattern, confirm full closure and replace worn tooling.
- Die sticking points to excessive heat, softened coating, contamination or inadequate release lubrication. Measure actual die temperature, reduce heat or dwell within the sealing window, clean the cavity and service the air system if pneumatic ejection is sluggish.
Set Three Dies for Equal Pressure and Stable Forming
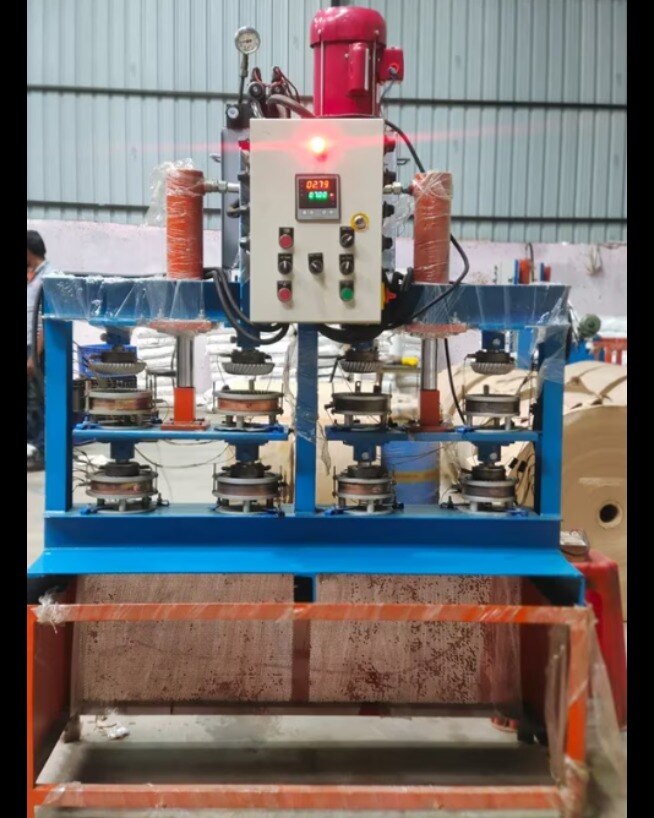
Set the three dies on a common centreline before adjusting pressure. A centred blank must enter each cavity without dragging, and the punch must meet the die face parallel to it.
- Remove paper dust, then inspect punch and die radii for burrs, scuffing or flattened edges.
- Check concentricity and parallelism with the ram at inching speed; correct guide or mounting errors before production.
- Run identical blanks through all three cavities and compare bowl depth, rim thickness and embossing.
- Balance forming pressure only after the blank diameter and feeder position are correct.
Use the symptom pattern to identify the adjustment:
| Cause | What you observe | Confirming check |
|---|---|---|
| Hydraulic pressure loss | All three pieces are shallow or incompletely pressed | Gauge pressure falls during forming; inspect oil level, hoses, pump and relief valve |
| Dwell time | Seams or embossing remain weak although pressure and heat are stable | Increase dwell time by a small step; improvement across all cavities confirms insufficient contact time |
| Heater temperature | Weak seams occur when the die face is cold; excessive heat causes sticking, coating distortion or print marks | Measure actual die-face temperature, not only the controller setpoint |
| Die wear or misalignment | One cavity or clock position shows thin rims, tears, burrs or rising leakage | Inspect radii, parallelism and repeated defect location; replace surfaces at the defined wear limit |
Record pressure, dwell time and heater temperature for the accepted trial. A single cavity failure is not fixed by raising pressure for every die.
Prevent Misfeeds, Sensor Faults and Unsafe Setup Errors
A fixed loading and start-up sequence prevents paper misalignment, double feeding, feeder jams and control faults on both semi-automatic and fully automatic dona machines.
1. Confirm the blank diameter, caliper and guide setting match the die. Place a small stack against the guides, then verify paper blank centering before enabling the feeder. An unsuitable diameter forces the blank sideways and produces uneven rims.
2. Set the separator, pickup height and magazine width for one blank at a time. Run five slow feed cycles and check that no blank overlaps another. Stop immediately if double feeding occurs; do not pull paper from a moving feeder, because a jammed blank can damage the pickup or die.
3. Clean dust from the photoelectric sensor and reflector with the documented method. Check sensor position after every die or guide adjustment; a shifted sensor creates false “no paper” signals and control faults.
4. Test the emergency stop, guard interlock and start button before production. On automatic machines, verify conveyor timing against feeder release and press entry; on semi-automatic machines, confirm the operator’s loading rhythm does not place a blank in the die early.
5. Start at reduced speed, inspect the first ten pieces, and adjust only guides, separator settings and timing within the approved range. Have a technician handle wiring, sensor relocation, pneumatic pressure changes and any guard or interlock fault.
Use a Maintenance and Safety Routine That Finds Faults Early
A short check at every shift change catches contamination and repeat defects before they become stoppages. Keep hands outside the die area; use the fixed guard, interlocked guard and approved inching mode during setup, and isolate power before removing a guard.
- Daily: follow the dona machine maintenance checklist; remove paper dust from the die and guides, complete specified lubrication points, drain the air filter, check pressure, and inspect blanks for oil or water contamination.
- Weekly: perform die cleaning, inspect guides and fasteners, check pneumatic hoses and fittings, and complete hydraulic oil and hose inspection for low level, leaks, abrasion or blistering.
- Scheduled by a qualified technician: check punch-and-die concentricity, parallelism, forming-surface radii and the manufacturer’s wear limit. Replace worn surfaces before one-sided rims, clock-position tears or leakage recur.
| Interval | Safety and control check | Fault prevented |
|---|---|---|
| Daily | Confirm guards, interlocks and emergency-stop function before production | Crush injuries and uncontrolled cycling |
| Weekly | Inspect electrical terminals and emergency-stop testing records | Loose-connection stoppages and failed shutdowns |
| Scheduled | Verify sensors, temperature uniformity and pressure calibration | Repeat misfeeds, uneven forming and hidden rejects |
Stop the machine for any failed interlock, exposed conductor, hydraulic leak or damaged hose. Never bypass a guard or reach into a closed die; send those repairs to a trained technician.
Prove Saleable Output Before Choosing a Machine or Supplier
Approve the machine against saleable evidence, not its headline stroke rate. A factory acceptance test for paper dona machine should use your actual paper, blank diameter, tooling and operating settings during a sustained run.
| Measure | Record | Acceptance evidence |
|---|---|---|
| Advertised speed | Strokes per minute and cavity count | Compare with actual cycle performance |
| Good output | Good pieces per hour after warm-up, cleaning, changes and stoppages | Meets the agreed production target |
| Yield | Reject rate and each reject category | Remains within the agreed limit |
| Forming quality | Bowl depth, rim condition, embossing and dimensions | Samples stay within specified tolerances |
| Leak resistance | Water-hold leak test, including dwell time | No leakage from the base, wall, transition or rim |
| Reliability | Feeder misses, jams, sensor faults and recovery after a controlled stop | Faults are recorded and recovery is repeatable |
Take samples at start-up and at steady state; a short demonstration can hide temperature drift, die cleaning, paper changes and intermittent misfeeds. Record heater temperature, compressed-air pressure, noise, stoppage duration and the corrective action for every interruption.
Ask Shivansh Engineering or another supplier to sign this record against the agreed paper specification, including caliper, moisture and coating—not GSM alone. Reject acceptance if the machine reaches speed only by exceeding the reject limit or skipping the water-hold test.
Related products
 | Paper Dona Making Machine Paper Triple Die Dona Making Machine ₹325000 A Paper Dona Making Machine is an essential manufacturing solution for producing high-quality paper donas (bowls) used widely in food service,... View product → |
 | Paper Dona Making Machine Semi Automatic Dona Making Machine ₹220000 A Semi Automatic Dona Making Machine is a perfect choice for small and medium-scale manufacturers looking for a balance of affordability, efficiency,... View product → |
Frequently asked questions
Can identical-GSM paper behave differently in a dona machine?
Yes. Caliper, stiffness, elongation, porosity and coating adhesion also affect cracking, wrinkles and bowl depth.
What should you check before blaming the paper dona machine?
Check the paper’s caliper, stiffness, elongation, porosity and coating adhesion, then compare those properties across batches.
How do you prevent uneven forming pressure across three dies?
Set the three dies to equal pressure and confirm stable forming before raising production speed.
How can you prevent misfeeds, sensor faults and unsafe setup errors?
Inspect the feed path and sensors during setup, correct faults before running, and use a defined maintenance and safety routine.
How do you verify a paper dona machine before choosing a supplier?
Run the paper and die combination you plan to use, then confirm consistent saleable output rather than accepting a machine demonstration alone.
Related product
 | Paper Dona Making Machine Fully Automatic Dona Making Machine ₹120000 A Fully Automatic Dona Making Machine is the most advanced and efficient solution for large-scale production of high-quality paper donas (bowls). View product → |